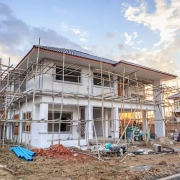
3 Car Garage – Standard Sizes, Layout and Costs Guide 2026
A 3-car garage accommodates three vehicles and also has an additional space to store equipment and to host workshops. It is more functional than a standard two-car garage and has the ability to add value to a property. The extra bay also provides increased inter-vehicle space and more flexibility for storage or workspace. Most residential building projects now incorporate larger garages since families have more than one vehicle, recreational equipment, or they may need additional storage.
An organized 3-car garage requires consideration of building size, planning schemes, door arrangement, and building expenses. Garage planning is also associated with zoning, ventilation, drainage, and compatibility with the existing home architecture. This guide describes typical 3-car garage layout types, cost estimates of 2026, and major technical regulations for constructors, cost estimators, and project planners.
The readers will find out how size influences the efficiency of parking, how the layout decisions impact usability, and what cost considerations influence the budgets of the project.
Understanding the Purpose of a 3 Car Garage
The use of a three-car garage is not limited to the storage of vehicles. Trends in residential design indicate that there is an increased popularity of homeowners utilizing garages as multipurpose areas. The bigger garages provide more space for larger cars, more vehicles used by the family, and storage for items that cannot fit in the house.
A three-car garage can have more purposes than just vehicle storage. The National Association of Home Builders (NAHB) reports that the size of garages in newly constructed homes has increased by more than 20 percent over the last 20 years, as vehicle sizes and household storage capacity continue to expand.
An effective 3-car garage has many practical applications. It gives secure parking to various cars, shields them against harsh weather, and leaves more room to store housewares. Most homeowners even use the garage as a small workbench and a place to keep their tools and equipment. The garage can also have charging stations and electric upgrades in homes with electric vehicles.
For these reasons, garage planning must consider both parking functionality and long-term flexibility.
Sizing a 3 Car Garage: Standard Dimensions
The size of a 3-car garage depends on the layout and the type of vehicles it should hold. But the majority of residential construction projects adopt the generally accepted dimension standards that hold vehicles in comfortable parking spaces and leave room for vehicle movement inside the garage.
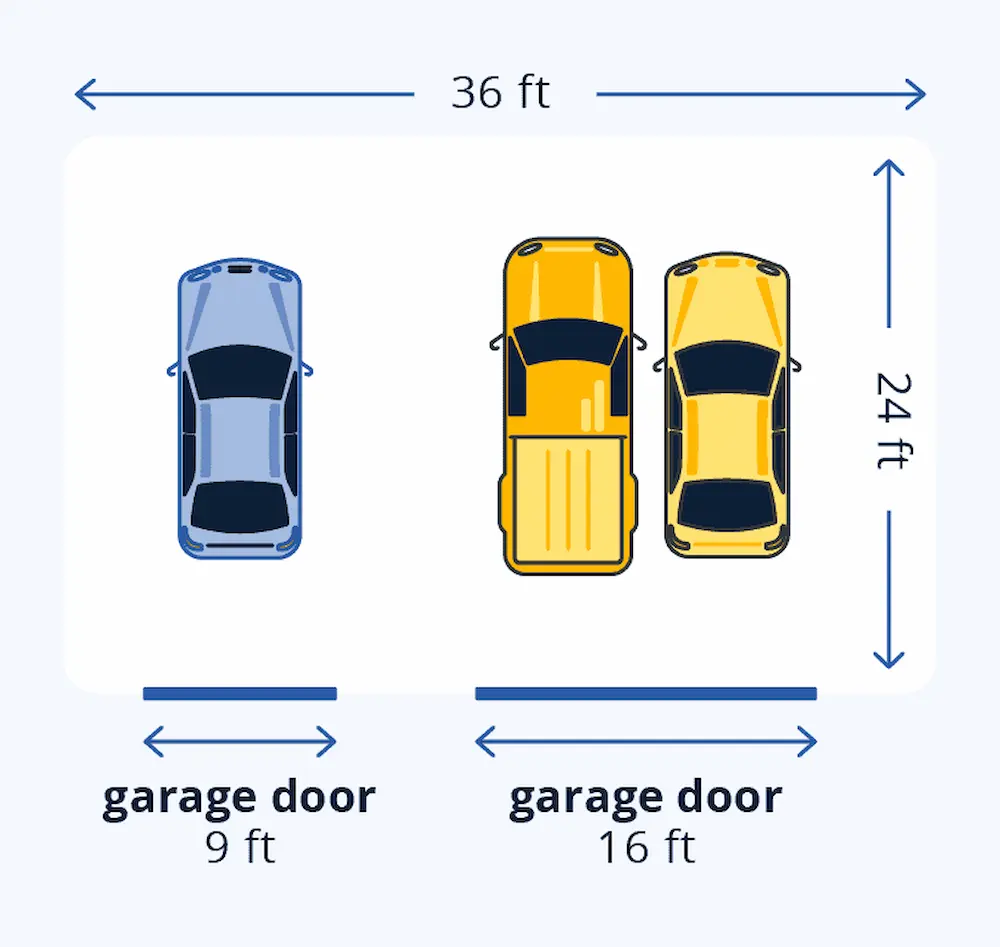
The average size of a 3-car garage is generally 32 to 40 feet wide and 20 to 24 feet deep. The width should accommodate three vehicles. The depth is significant as modern SUVs and trucks are longer than older models of vehicles.
 The table below summarizes the dimensions for a 3-car garage in residential construction.
| Garage Type | Width | Depth | Typical Door Setup | Common Use |
|---|---|---|---|---|
| Compact 3 Car Garage | 32 ft | 20 ft | One double door + one single door | Small vehicles, minimal storage |
| Standard 3 Car Garage | 36 ft | 22 ft | Two or three doors | Balanced parking and storage |
| Large 3 Car Garage | 40 ft | 24 ft | Three single doors | Larger vehicles or trucks |
| Extra-Deep Garage | 36–40 ft | 28 ft | Three doors | Storage or workshop space |
Though these sizes are the normal standards, the custom home projects might need modifications based on the sizes of their owner’s property, the types of vehicles, as well as the building regulations in their localities.
Interior Clearance Recommendations
Interior clearance plays a critical role in the functionality of a garage. Constructors normally leave spacing between vehicles and walls so that the car doors can open easily and people can move freely around the parked cars.
In the majority of 3-car garage catalogue designs, there are the following guidelines in terms of clearance.
- Approximately 2.5-3 feet of vehicle space.
- A minimum of 2 feet of space between the car and the garage walls.
- At a minimum of 4 to 5 feet of walk space in front of the vehicles.
Popular 3 Car Garage Layout Designs
A 3-car garage uses several layout designs. The choice depends on the property width, accessibility on the driveway, and the architectural design of the house.
Side-by-Side Layout
The most standard three-car garage arrangement in suburban houses is the side-by-side arrangement. In this design, the homeowner parks all three cars side by side along the same wall. A garage door may have one door, a big double door, or three individual doors.
This plan is efficient in properties with larger frontage and easy vehicle access. Drivers do not have to move other vehicles to get in or out of the garage. It also makes the interior organization easier as it allows the storage areas along the side walls without distracting vehicle movement.
The average side-by-side 3-car garage is commonly 36-40 feet in width and 22-24 feet in depth.
Tandem Layout
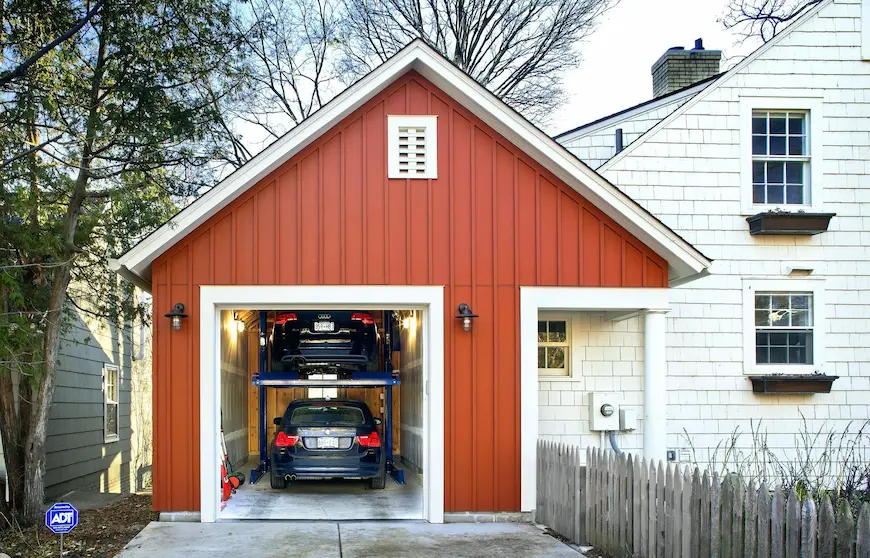
A tandem garage places a vehicle behind another rather than placing all the vehicles along each other. This design features two parked cars in a row inside a deeper garage bay, with the third car parked alongside the others in a different bay.
Tandem garages are commonly seen on properties with small lot widths where a wide garage cannot be built. This type of design minimizes the entire building width, it takes up more depth, and it might be inconvenient to use daily due to the possibility of blocking the access to an alternative vehicle.
The most common tandem garages are 24 to 28 feet wide with a possible range of 36 to 40 feet in depth.
Split Garage Layout
The split garage design separates the third parking bay and the main two-car section. The third bay can either be a little in front or back of the rest of the garage, giving architectural diversity on the exterior of the house.
This is a layout that enhances the visual balance and usually provides better accessibility of each vehicle into the driveway. This method is common in many custom homes as it fits well with the modern house design. It offers the benefit of using the third bay as either a storage or workspace.
Garage Door Configuration Options
The location of the garage also influences the ease of use, the cost, and the appearance of the garage to the house. The location and the number of doors may vary the ease with which vehicles can enter or exit the garage and the compatibility of the overall design of the home.
Typical combinations of garage doors are one double door with one single door, three individual doors, or two very large double doors. Both options have various advantages based on the size and layout of the garage.
| Door Configuration | Description | Advantages | Limitations |
|---|---|---|---|
| One Double + One Single | 16 ft door and 8–9 ft door | Lower installation cost | Less visual symmetry |
| Three Single Doors | Three 8–9 ft doors | Independent vehicle access | Higher total door cost |
| Two Double Doors | Two 16 ft doors | Wide vehicle clearance | Requires a wider structure |
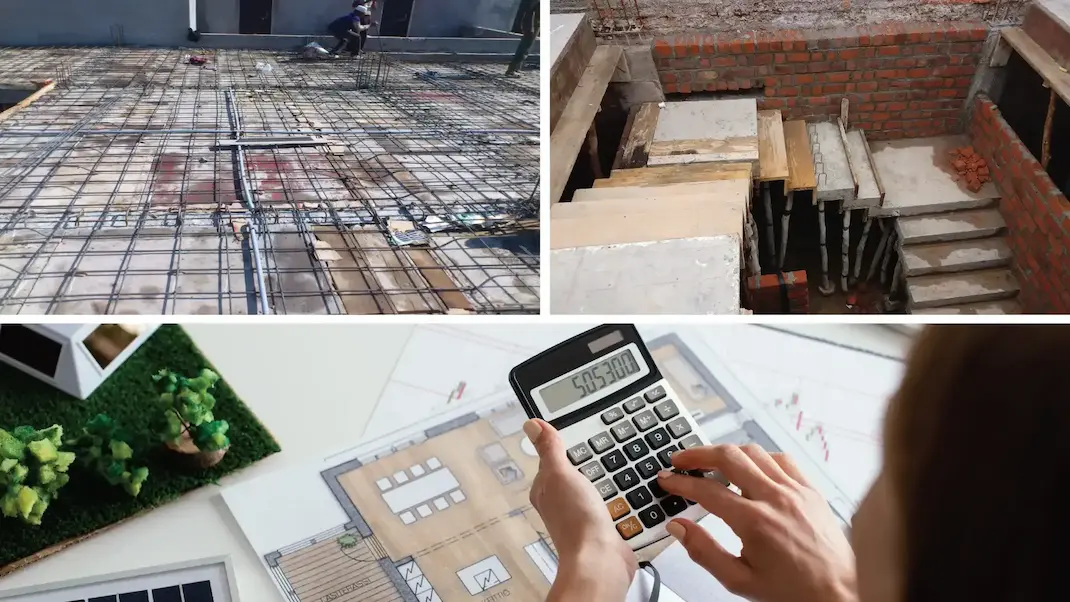
Construction Cost of a 3 Car Garage in 2026
The construction prices vary by a number of variables, like a garage size, materials, labor, and any other factors like insulation, windows, or an automatic door. In 2026, knowing these expenses and budgeting can help you make wise choices and prevent any surprise costs. The prices also differ depending on geographic location and availability of labor.
According to industry estimates, in 2026, the average cost of constructing a garage ranges between $40 and $70 per square foot based on the complexity of the design and the level of finishing. Home Advisor construction data indicate that building costs have increased in recent years because of increased material prices and shortages in labor.
 The following table indicates the cost of a three-car garage building as per the market.
| Garage Type | Average Size | Estimated Cost Range |
|---|---|---|
| Basic Detached Garage | 720 sq ft | $30,000 – $50,000 |
| Mid-Range Finished Garage | 800 sq ft | $45,000 – $70,000 |
| High-End Custom Garage | 900+ sq ft | $70,000 – $120,000 |
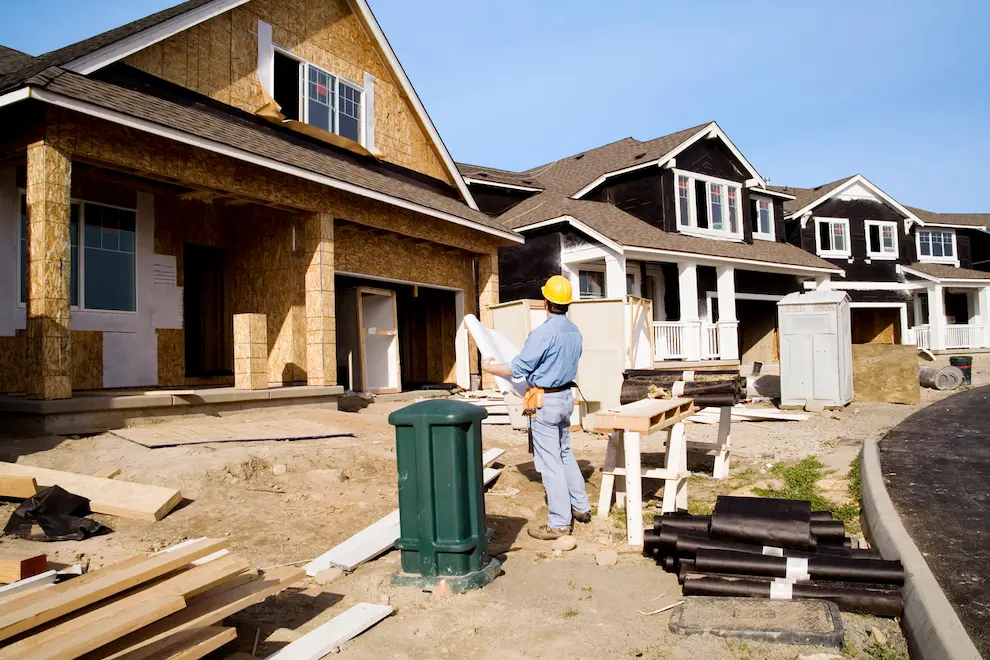
The foundation slab, structural framing, roofing, garage doors, and electrical wiring are the basis of these estimates. Detached garages may be a little more expensive than attached garages due to the need to construct more walls and structural elements.
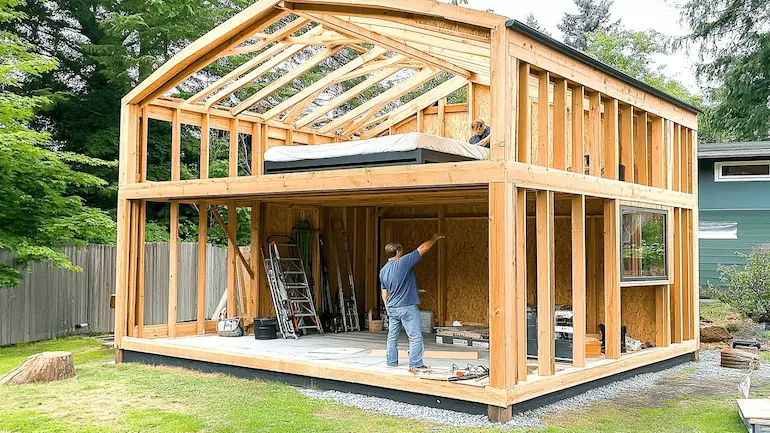
Key Structural Components in Garage Construction
There are a lot of structural systems in a 3-car garage that ensure the safety and stability of the garage. The electrical installations, the roof structure, the framing system, and the foundation are elements that add to the overall performance of the garage.
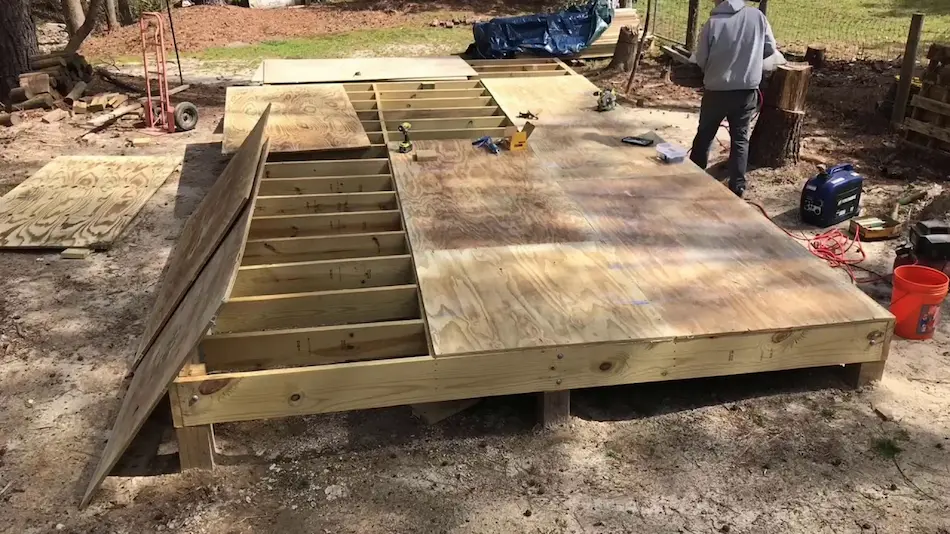
Foundation System
Garages are normally built on a reinforced concrete slab. Builders usually form general garage slabs approximately 4 inches thick. They add additional reinforcement and make slabs thicker to carry heavier vehicles. They also mount the reinforcement bars out of steel in order to reduce cracks and enhance the strength of the slab.
Constructors also provide an adequate drainage system during the construction of a garage foundation. They also tend to make a small incline towards the garage door, such that water can move out rather than accumulating in the garage.
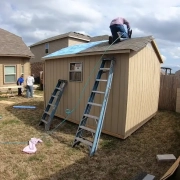
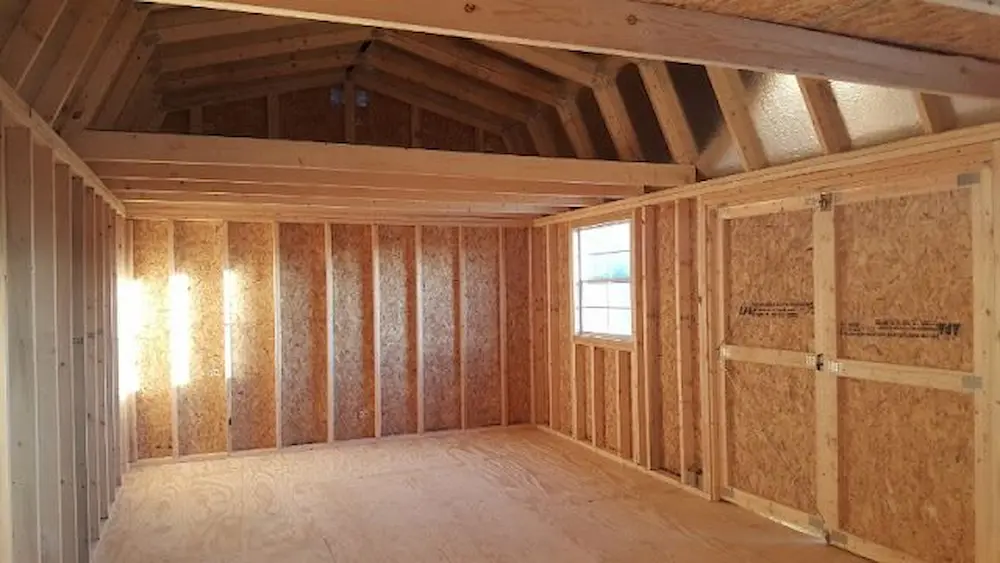
Wall and Roof Framing
The residential garages are commonly constructed using light-gauge steel or wood studs. The wall is normally 9 to 10 feet high, which is sufficient to clear cars. Roof structures that require pre-fabricated trusses are also common to make construction much easier. These are helpful to distribute roof loads evenly around walls.
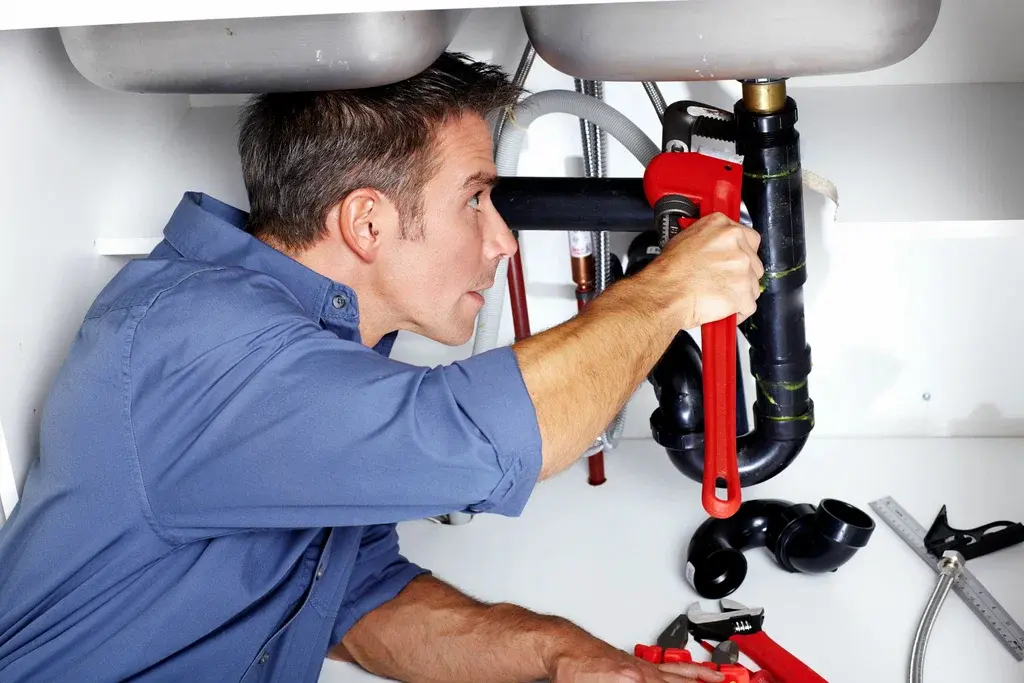
Electrical Systems
A modern garage should have a good electrical system to enable lighting, garage door openers, and power sockets. This tendency predisposes EV charging infrastructure as a more widespread characteristic of new garages.
Planning a Functional Garage Interior
A properly designed interior enhances the utility of a three-car garage in the long run. Rather than keeping the entire space undivided, most people who own homes have structured the garage into distinct areas to park vehicles, store items, and work.
Homeowners may install storage shelves and cabinets that are located on the perimeter walls to ensure that they do not interfere with vehicle movement. They also use overhead racks where they store their seasonal goods like camping equipment, sporting equipment, or holiday decorations. These storage systems make sure that the homeowner utilizes the space to the best.
Read More: NYC Construction Takeoff Services for Project Cost Estimates & Bid Success
Overhead storage options, such as ceiling racks or pulley hoists, allow the storage of large objects, like bins or bicycles, without loss of floor space. The other handy solution is to create a small workshop area consisting of a workbench and a total storage space. A small working area can transform the garage into a more efficient place for household repairs and maintenance.
Bonus Tip
Planning to install overhead storage racks can generally increase the storage area without reducing the parking area. A ceiling storage is particularly helpful for light and seasonal items that do not need repeated access.
Common Mistakes in 3 Car Garage Design
A number of planning errors can minimize the efficiency of a 3-car garage. Early installations help to increase the life span of the garage flooring.
Mistake 1: Lack of Space between Vehicles
When constructors build the garage too narrow, the doors of the cars become hard to open, and make the space feels cramped.
Mistake 2: Choosing Garage Doors that are smaller
The newer models. such as the trucks and SUVs, have larger and taller doors compared to the old vehicles. It may be difficult to park or move your vehicle due to the wrong size choice.
Future Trends in Garage Design
The design of residential garages keeps changing with the growing needs of households and the development of vehicle technology. There are several trends that are influencing the planning of three-car garages in current homes.
Charging infrastructure for electric vehicles is gaining popularity. Level-2 EV chargers, which utilize 240- volt outlets and modified electric panels, are now common in many garages.
 The other rising trend in the design of a garage is smart technology. The new systems enable the homeowners to use mobile apps to open the garage doors, to check the security cameras, and to turn the lights off or on remotely. Luminous doors and motion-sensitive lighting improve the comfort and safety.
Garages also turn their use into multi-purpose areas. Most of the homeowners are utilizing a small section of their garage as a little gym, workshop, or hobby. Flexible configurations allow the space to facilitate domestic needs in the long run.
Things to Consider Before Choosing Services
Some technical and planning issues ought to be put into consideration before initiating a garage construction project. The considerations of this planning facilitate the achievement of a final design that is functional without going beyond the project budget.
- Complexity of the project: Garages that require additional structural integration and fire-resistant walls will need separate foundations and additional exterior construction.
- Liaison among professionals: It requires efficiency in the coordination of the architects, contractors, and engineers to eliminate errors in garage design and failure to meet deadlines.
- Environmental and Regional Conditions: Local weather conditions can affect the design of a 3-car garage. As an illustration, constructors can use tighter roofing in snow-heavy regions or use firmer framing in windy or hurricane-prone regions.
Conclusion
A three-car garage is highly practical for contemporary homes. It provides you with secure parking, additional storage, or even a workshop. The information on the size, layout, and costs of construction of the standard size will assist the homeowners in planning well before construction.
Proper planning makes sure that you will have adequate space in your garage, good construction, as well as extensive space for usage. Considering the layout, door style, and the arrangement of the inside at an early stage may help to avoid costly errors. This, in turn, helps to make the project run more easily
Discuss Your Project Requirements With Us
When planning to construct a garage, proper cost planning is crucial. The professional estimating services assist in estimating the amount of materials and labor needed, and the actual budgets to construct the buildings.
NYC Estimating is an estimating company that offers construction estimating services to residential building works, such as garages and home additions. To discuss the projects or seek estimates, contact:
NYC Estimating Email: info@nycestimating.us
Phone: +1 469-638-3585
Website: https://nycestimating.us/
Frequently Asked Questions
What is the size of a 3-car garage with large vehicles?
In the case of bigger SUVs or pickup trucks, a garage with a minimum size of 36 feet by 24 feet is ideal. This dimension offers a sufficient space to open doors and move freely within the garage.
Should I construct an attached or detached 3-car garage?
Attached garages provide an easy entry to the home, and they tend to be a little cheaper to construct. Detached garages allow more design options and less noise or fumes in the house.
What is the best ceiling height of a three- car garage?
The height of the ceiling should be 10 feet because the ceiling should be high enough to accommodate taller vehicles.
How long does it take to construct a 3-car garage?
The construction timeline is usually between 6 weeks and 12 weeks, depending on the complexity of the project, weather conditions, and permit approvals.
Is it possible to have storage space in a 3-car garage?
Yes. Most of the garages have pre-built shelving, wall cabinets, or overhead storage space. Correct layout planning enables storage space without decreasing the size of the vehicle parking space.
Do garages add value to property?
Houses that have bigger garages are usually priced highly, as many buyers like to have extra parking and storage space.


 The risk is proven by industry data. In reports brought to light in the Pulse of the Profession by the
  Several factors influence pricing:
 Using a patching example, a minor crack can be repaired at a fee as low as several hundred dollars. Whereas a water-damaged drywall can be repaired at
 How to fix it:
 Project:
 For example, on a 200‑bed hospital expansion, the team saw a $15,000 miss simply because extra condensate drains were ignored. Without a clear budget for those pipes, the contractor went the wrong way and delayed other work. You know market fluctuation nowadays. This has made precision and accuracy more important in piping estimates. Therefore, expert estimators suggest being updated with these changes. This is important to avoid overspending on materials.
  This step can catch things that drawings won’t show, including:
  For example, Navisworks or Trimble Connect lets you export all pipe segments’ lengths with one command. This can save hours and reduce mistakes in crafting drawings. Of course, BIM takeoff requires having a detailed model, but where available, it is a game-changer.
 Here’s a table showing some estimates, depending on size.
  Here’s the flow:
 Examples

 Step 1: Education, Degree, Diploma, or Apprenticeship
 Experienced QS professionals bring